Part 1: Setup Your Account
1. Go to http://Pantheon.io and click “Start for Free” to setup a Free Developer Account. Fill out required information, and be sure to remember the password that you enter. (You’ll need to make up a company name.)
DO NOT USE WITH GOOGLE (@gmail.com) CREDENTIALS. Setup your account using your UB Email address.


2. Chose a name for your site. Please use at least your UBIT name as the first word in your title. Make note of the Development Site URL. You will use this to connect to your site.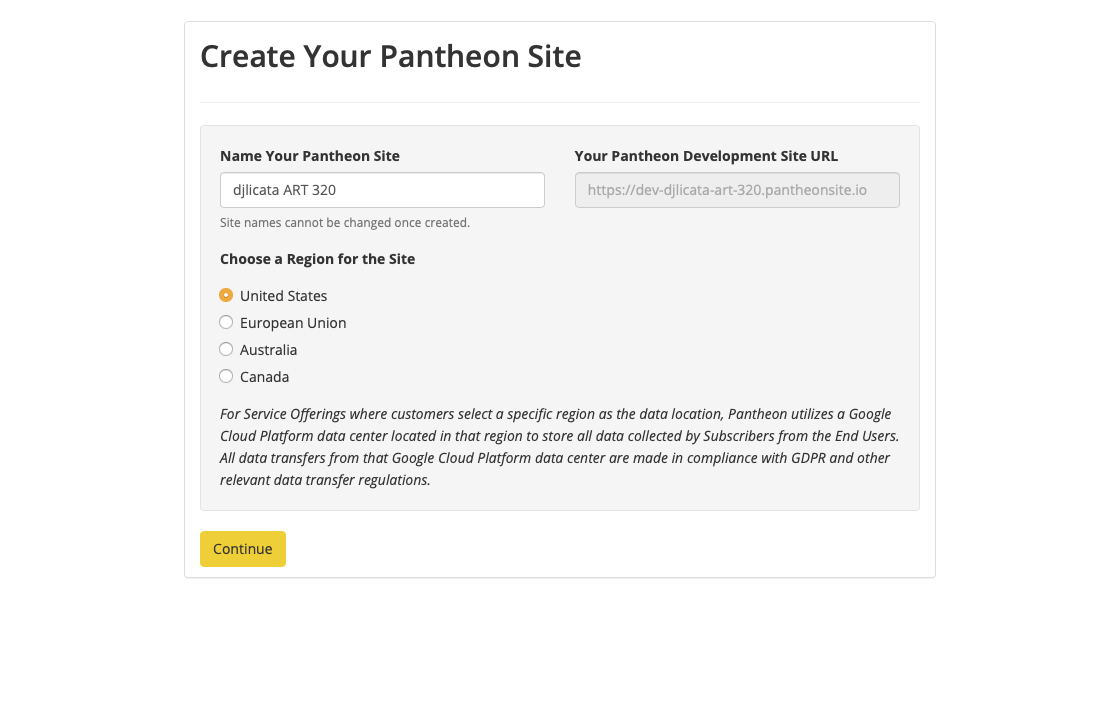
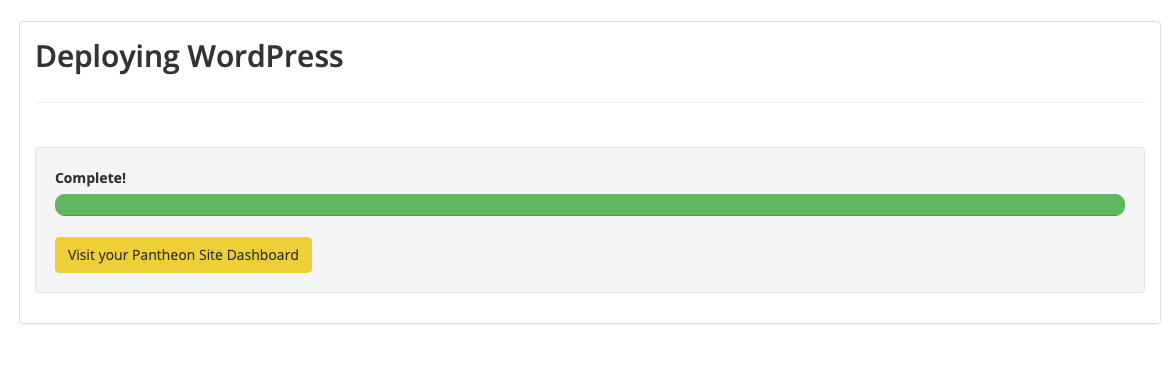
3. On the following screen, click to Deploy WordPress.
Note: We won’t be using WordPress until the next exercise, but we can use this sandbox to serve our static Project 1 websites.)

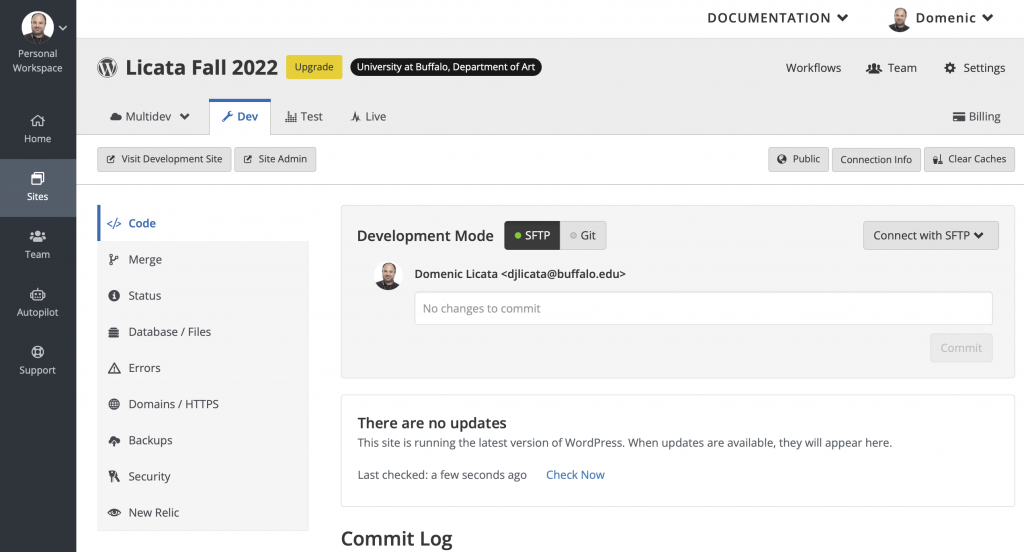
4. You should be brought to your Pantheon dashboard where you’ll see the sandbox in which your WordPress project was setup. Click the Sites tab to see your site admin panel.
Part 2: Connect to Pantheon via SFTP (Cyberduck)
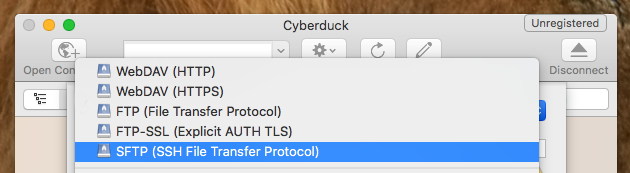
1. Setup your SFTP client. If you are using your personal computer, download and install the free version of Cyberduck. (Do not get it from the Microsoft or Apple stores — they will charge you.)
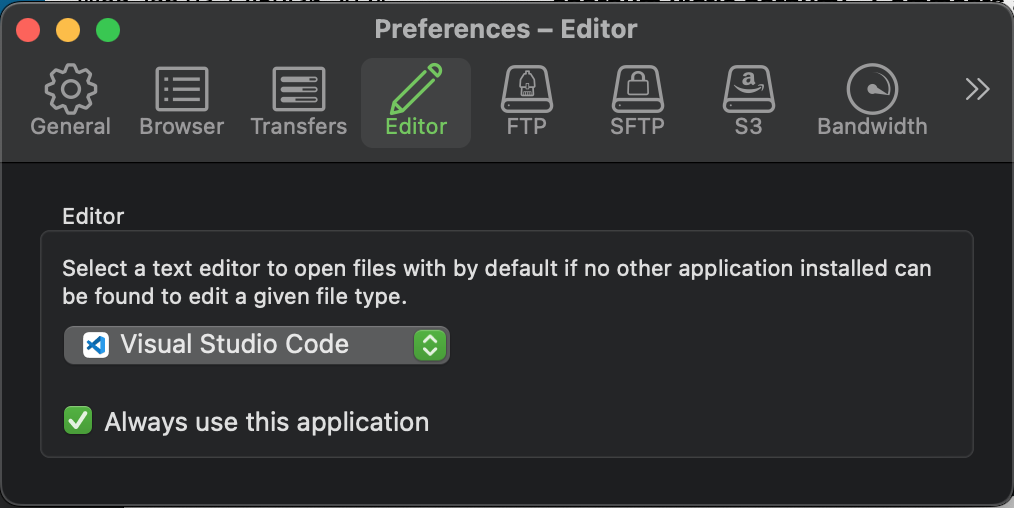
2. If you’re using a Mac, choose Cyberduck>Preferences and click SFTP> Set Cyberduck as your default SFTP handler, and then Editor, set Visual Studio Code as the text editor, and check “Always use”.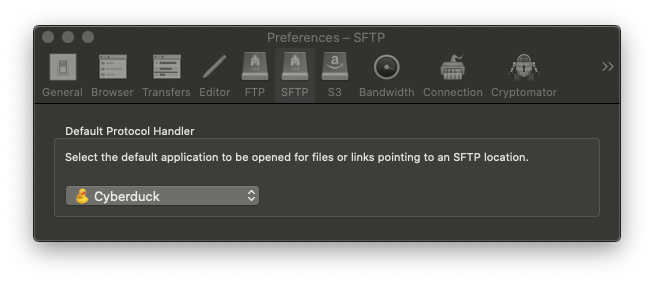
If you are using a PC, you can go to Edit>Preferences>Editor and set Visual Studio Code as the text editor. Check “Always use”.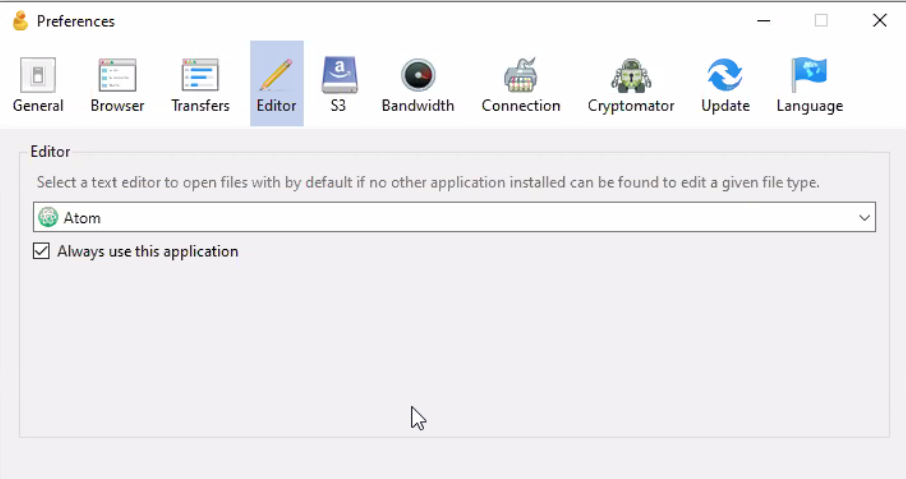
4. Create an SSH Key
- Open Terminal
Enter the following command: ssh-keygen -t rsa -m PEM
- Hit Return.
You’ll see: “Generating public/private rsa key pair.”
- Hit Return.
You’ll see: “Enter file in which to save the key (/Users/djlicata/.ssh/id_rsa):”
- Hit Return.
You’ll see: “Enter passphrase (empty for no passphrase):”
- Hit Return, twice.
- Enter the following command:
cat ~/.ssh/id_rsa.pub- Copy the key that appears to your clipboard.

- Go to Pantheon > Add New Key and paste the key into the box.
For more instructions, please visit the Pantheon Instructions.
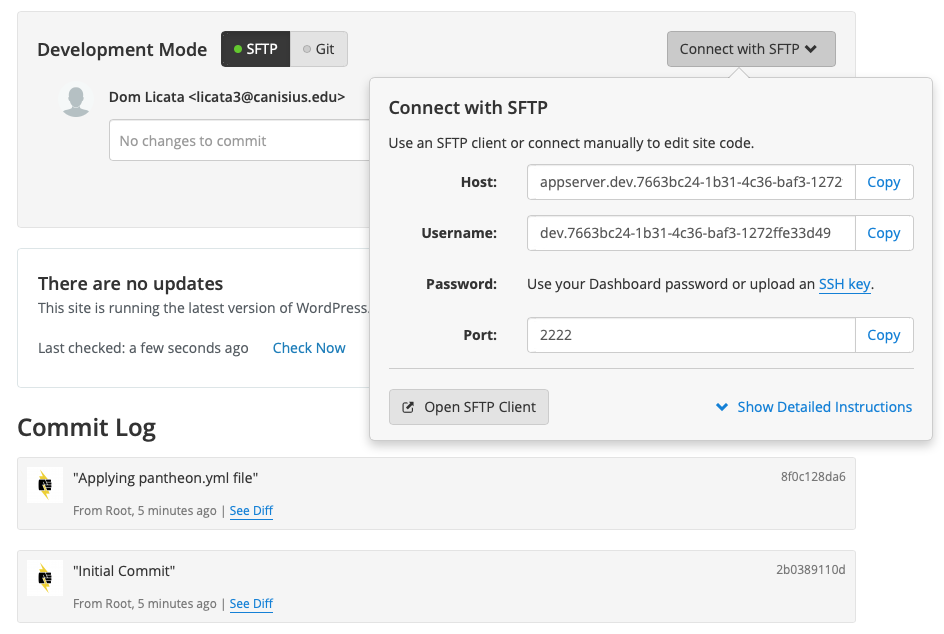
5. In your Pantheon Dashboard, choose Development Mode: SFTP, then click Connect via SFTP.
On a Mac, in the menu for SSH Private Key, chose .ssh/id_rsa

On a PC, for SSH Private Key, select Choose, then navigate to the .pub file in the Users directory.
6. When you see the “Unknown Fingerprint” warning, check “Always” then click “Allow”.
Double-click the Code folder. Choose Bookmark>New Bookmark to save this connection info to make subsequent logins easier.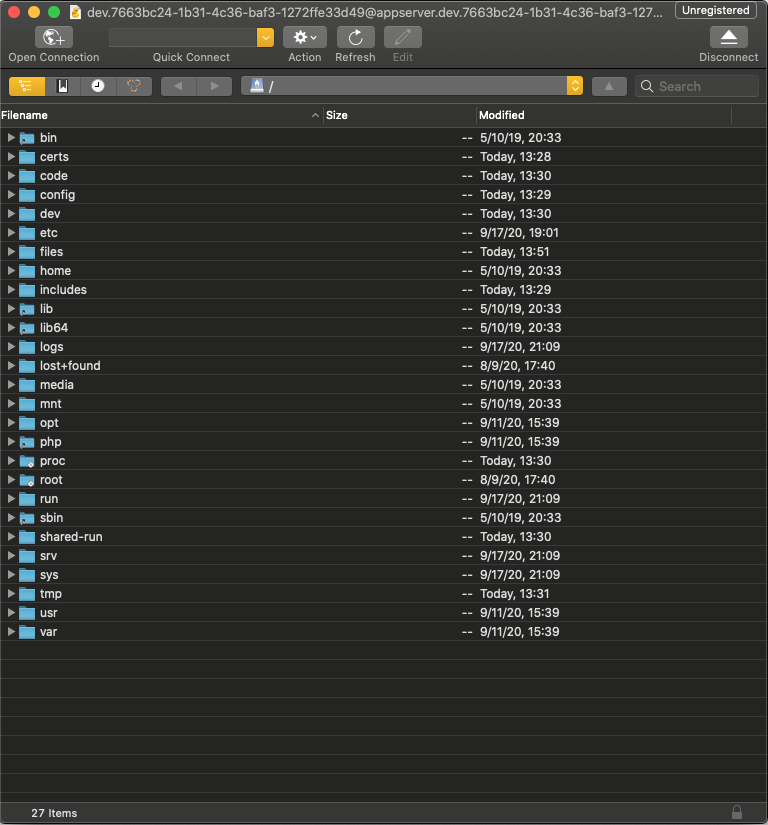
7. Within the code folder, create a New Folder named “project1”. Upload your project 1 files into this folder. Be sure the files exists at the top level of the project 1 folder, that is, do not have them sitting in a sub-folder.
8. View your site by typing in your Development Site URL followed by /project1. For example, https://dev-licata-fall-2022.pantheonsite.io/project1/.