
Part 1: Configure Your WordPress Site
- Login to your ubuffalo.art WordPress dashboard. You’ll find it at UBITNAME.ubuffalo.art/wp-admin.
2. Complete initial site setup:
- In Settings>General, review your Site Title , Tagline and your email address (for admin purposes.)
- Change the Administrator email to your UB email address.
- Note the box for Membership: Anyone can register. DO NOT check this box.
- Set the Time Zone for New York
- Uncheck the box “Allow people to submit comments on new posts”
- Check the box “Before a comment appears>Comment must be manually approved”
- Save Changes
3. In Settings>Discussion, you can choose to allow visitors to leave comments on posts and pages.
4. Create a New Page. Type “Home” in the Title block. Click the + icon to choose a block type. Click Browse All, then click Patterns.
- Click Banners, then find a thumbnail to add the Pattern to your page.
- Select the new block and look at the Settings, Block styles. Upload images or change styles as needed. (You may use this image or any other.)
- Add some additional block types for content, including subheads, paragraphs and lists. Note the URL (permalink) assigned to the page will contain the Title you entered. Publish the page.
5. Create a New Page. Title it “Contact”.
6. Create a New Page. Title it “Work”.
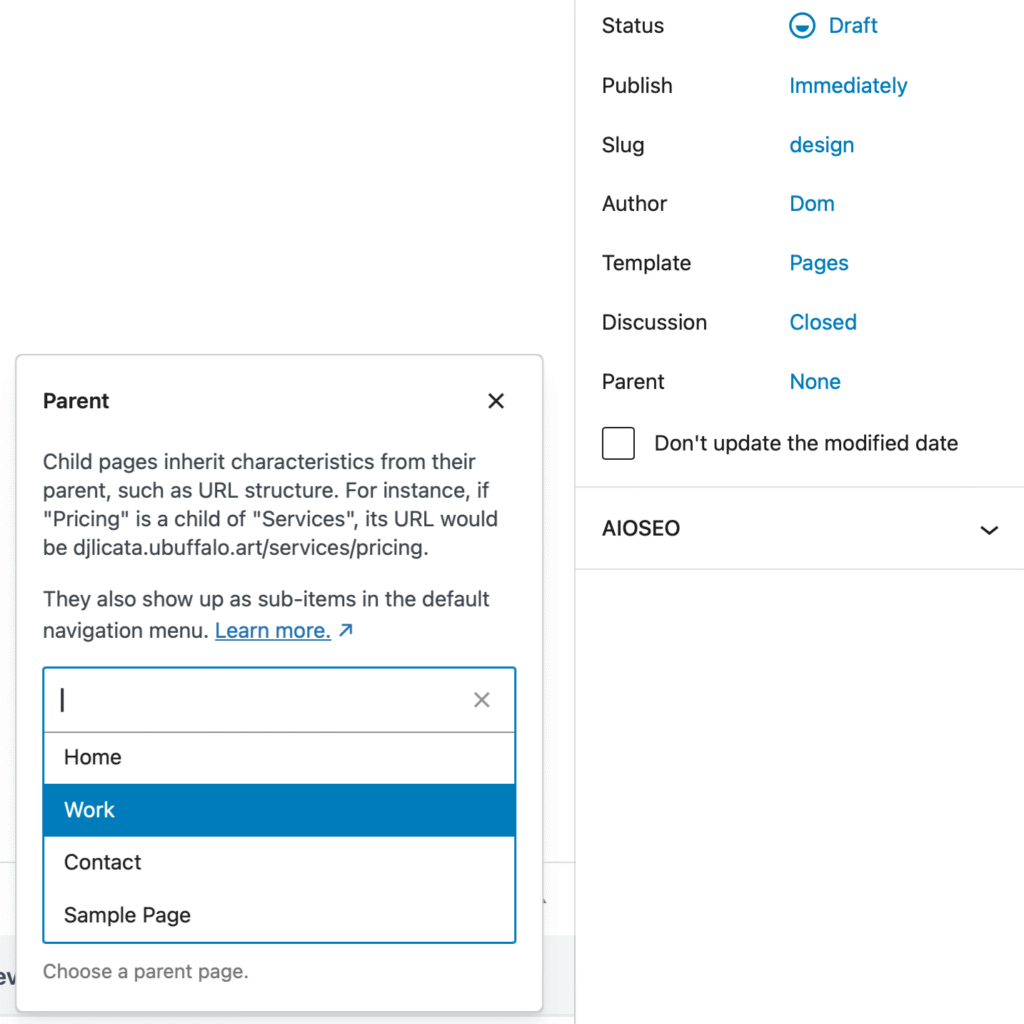
7. Create a New Page. Title it “Design”.
- Under page attributes, make Design a child of Parent: Work.
8. Create a new page, Blog, and in Settings>Reading set it as your Posts Page.
9. In Settings>Reading, Change the landing page to Static Page: Home.
10. Create a New Post. Title it “Welcome to My Blog” or something equally exciting.
- Embed a YouTube video by pasting the URL of the video of your choice into a WordPress block.
- Add links to your blog post.
- Add a list.
- Assign relevant Categories and Tags to help visitors find your content.
- Publish the Post.
11. Visit your site to see your new content. Select different themes (Appearance>Themes) and notice the changes to the design.
Part 2: Install a Theme and Edit Appearance
1. In Appearance>Themes, choose Add Theme and search for Ollie
2. Activate the new Ollie theme. View the site and observe the theme’s default features. Notice the Menu appears with the pages out of optimal order. We’ll fix that below.
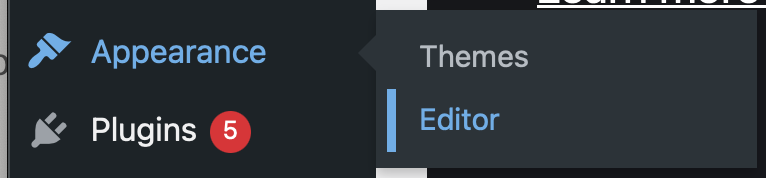
3. In the Dashboard, go to Appearance>Editor
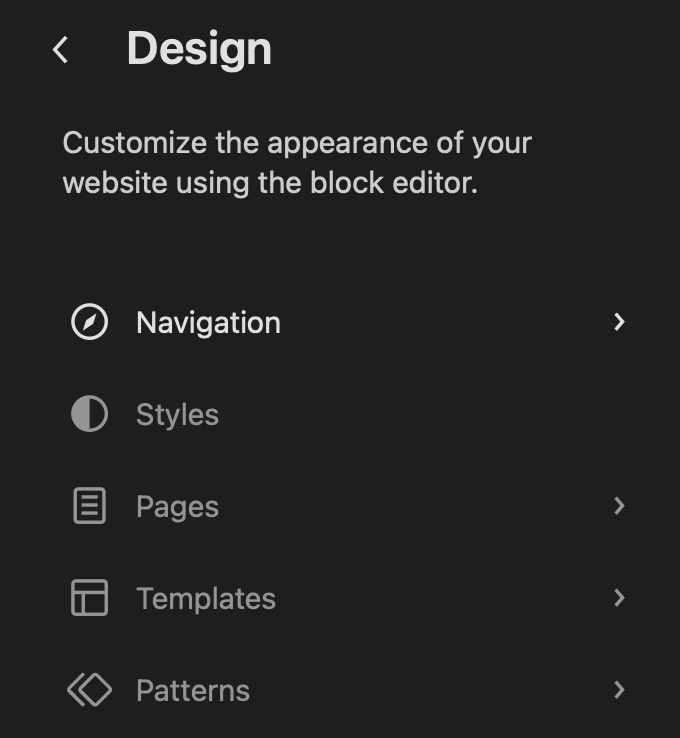
4. Click “Navigation”
- Drag to change the order of the menu items: Home, Contact, Work.
- Drag Design into the Work item to make it a subpage.
- Remove Sample Page.
- Click “Review Change…” at the bottom, the Left Arrow to get back to Dashboard.
- Click Visit Site from under the Home icon at the top left.
5. Back in Appearance>Editor, click Styles. Explore changing/adding fonts, colors effects, and general layout attributes.
6.In Appearance>Editor, click Patterns, the Footer.
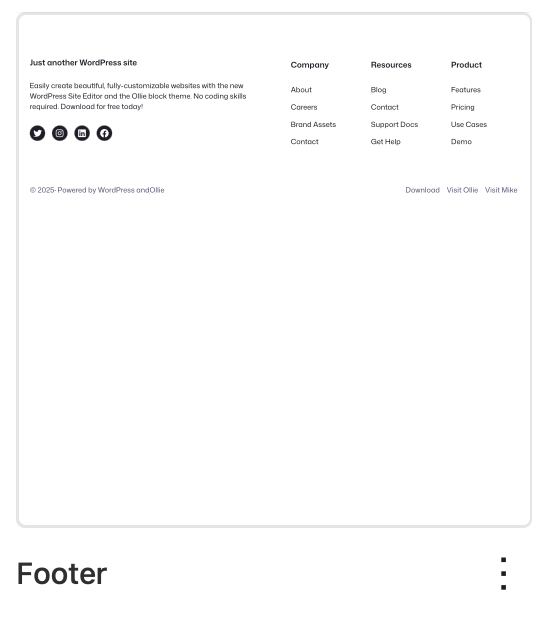
Click the Footer thumbnail. You can now edit the contents of the Footer.
- Add or remove social media icons
- Delete content that is not needed.
- Click Save when finished.
Part 3: Add and Activate Plugins
Plug-ins add a wide-variety of functionality to your WordPress site.
Ensure that the plugins you choose to install are used by a great number of users and have been updated recently.
- From your WordPress dashboard, go to Plugins and click “Add New“.
- Search for “wpForms“. Install and Activate.
- Search for “NextGEN Gallery“. Ensure that your found result in by developer “Imagery”. Click “Install Now“, then Activate. (Optionally, view the NextGEN Gallery intro video.)
- Download these four sample images (or quickly find your own.)
- To create a gallery with the four images, and place it on your Work page:
- From your dashboard, go to Media>Library and drag-and-drop your image files into the library. Review how to add metadata to each image.
- From your dashboard, go to NextGEN Gallery>Add Gallery/Images.
- Click to “Import From Media Library”. Type in a New Gallery Title, then click Select Images.
- Click the Media Library Tab at the top. Shift-click (Mac) to select multiple images from your Media Library. Hit the Select Button and the bottom-right.
- Click the button to “Import Images”.
- Edit your Work page. Click to add a new block and search for NextGEN. Add the block, and choose your new gallery from the list. Save and view your page.
- Alternative image plug-in: Spectra Gutenberg Blocks – Website Builder for the Block Editor, for hover effects, get over image, and Lightbox (as well as other useful design block types.)
- In the Dashboard, click WP Forms, and click +Add New.
- Click “Simple Contact Form” and Use Template.
- Click Notifications. Review the Send to address.
- Click Confirmations. review the message that your senders will see once their form is submitted.
- Edit your Contact page. Click to add a new block and search for “WPForms”. Add the block, and select the “Simple Contact Form” from the menu. Save and view your page.
- Add Google Fonts to your theme: Fonts Plugin | Use Google Fonts, Adobe Fonts or Upload Fonts.
Alternative Image Gallery Plugins:
- Modula: Nice mosaic-grid layout function
- Simple Lightbox (for the image enlargement effect without having to create galleries.)